Open weblogic admin console (home page) and go to “Services” tab in the left panel.

Click on “JDBC” on the right panel. It will open the following screen.
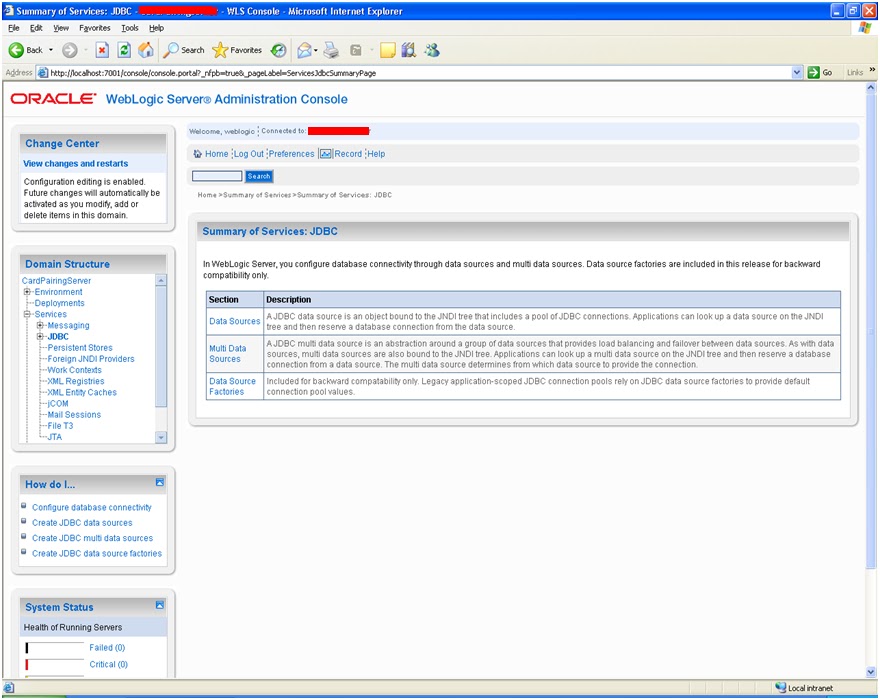
Click on “Data Sources”. It will open the following screen. Then click on “New” to create a new Connection Pool.

Enter the required details as shown for the below screen
Name : Enter appropriate name for the connection pool.
JNDI Name : Enter appropriate JNDI name for the connection pool.
Database Type : Select appropriate database type. In case of CPS its “Oracle”.
Database Driver : Select appropriate database driver. In case of CPS its “Oracle’s Driver (Thin)
Versions :9.0.1, 9.2.0,10,11”.
Click on “Next” after entering the details.

Click on “Next” once the below screen appears.

Enter the required connection properties for the database connection as shown below :
Database Name : Enter the appropriate database name (i.e. Service Identifier of the database).
Host Name : Enter the appropriate host IP address of database.
Port : Enter the appropriate Port No to connect to database.
Database User Name : Enter the appropriate database User Name to connect to database.
Password : Enter the appropriate password to connect to database.
Confirm Password : Enter the password again for confirmation.
Click on “Next” after entering the connection properties.

On clicking “Next” two more text area appears. Click on “Test Configuration” to test whether the connection is successfully established or not.

A message appears on the top of the screen stating whether the connection test is successful or not.

If the test is successful, click on “Next”.
Then create a new JDBC Data Source. Select a server from the list displayed on the screen. If the desired server name is not displayed on the screen, then go to targets and select the appropriate server name.

Then Click on “Finish”.
The following screen will appear which indicates that the datasource is successfully created.

If the properties of the connection pool needs to be changed at any point of time, then click on the datasource name displayed on the previous step. The following screen will appear.

Navigate through the displayed tabs to view the various connection pool related properties. If required, edit them and click on “Save”. The edited properties will be saved.